

I have a bad habit of taking on a lot of things. (Too many my husband would say.) Today was a good example. I have a cake smash session tomorrow and the mom wanted a frilly, girly look to it. At some point yesterday I decided that I was bored with all my girly props, and none of them would do for tomorrow. So, in between a soccer game, a hockey game, a hockey practice, book shopping (see below), a kid sleepover, acting as a single parent all day while my husband dealt with water issues at the cottage, and all the usual parenting things, I made a shabby chic – and very pink – fabric garland. I’ll post pictures of it “in action” tomorrow. But you can get the idea here.
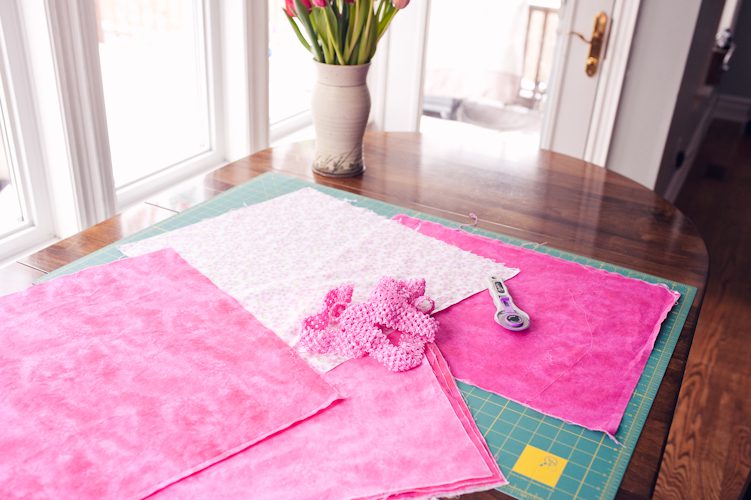
This morning I bought some “fat quarter” quilting pieces and a 2 year spool of stretchy pink ribbon from Walmart. I knew the selection of fabric wouldn’t be extensive, but the store is close and I took a chance that I’d find some girly pink cottons. I also scavenged around my house for the remaining scraps of fabric from the curtains I made four years ago for my littlest’s nursery.
I washed and dried all the fabric to prevent future shrinking and then ironed it all. It may not have been strictly necessary to wash and dry it all, because I don’t know how often the finished garland will need to be washed and dried, but I figured it was better to be safe than sorry. It also gave me some time to plan the garland.
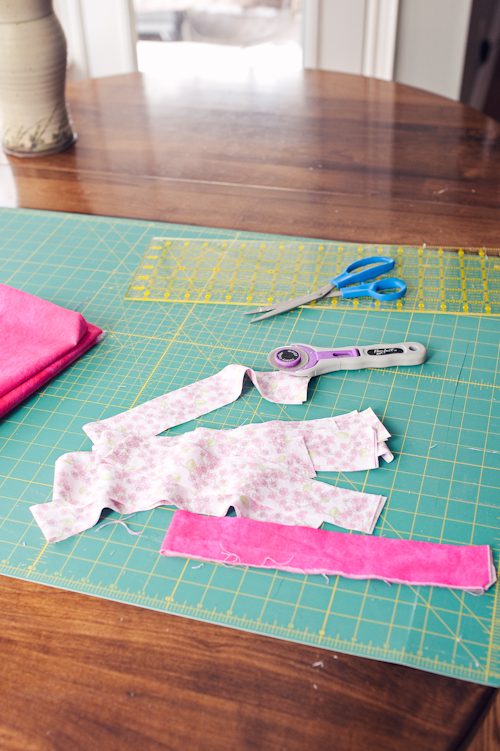
I decided to make the scraps about 20 inches long and 2 inches wide. I used my cutting board and circular cutter (thanks for these mom!) to line up the fabric, double it over and quickly cut all the fabric into strips. I didn’t get too caught up on whether the strips were exactly 20 inches by 2 inches. Just close.
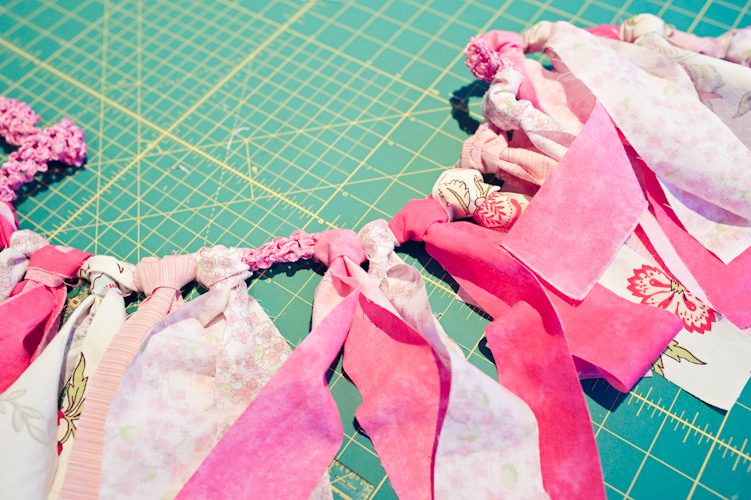
I used a total of five different fabrics, and simply folded the fabric over and pulled it through itself along the stretch ribbon in an alternating a-b-c-d-e pattern.

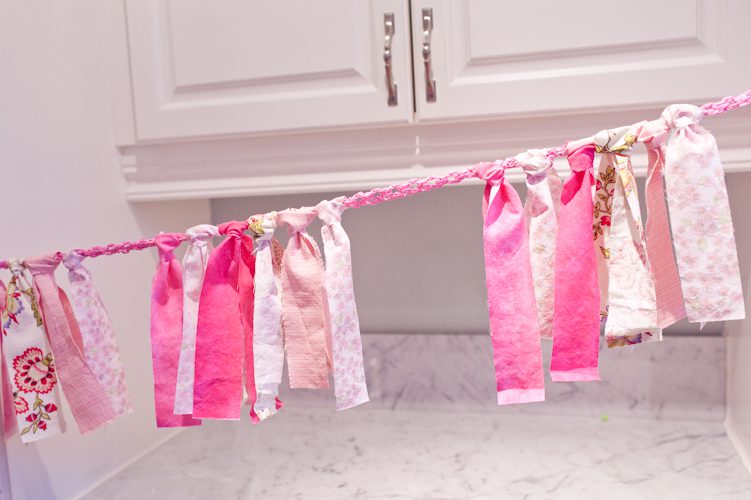
Eventually I found it easiest to tie the ribbon to the handles of my kitchen cupboards in order to stretch it out its full length, and to keep tying the fabric. The picture below gives you an idea of what the finished project looks like. I did keep tying fabric until the entire length of the ribbon was filled in.
Now to see how the finished project works tomorrow afternoon!